Replace Your Lincoln 225 Welder Fan: A Simple, Step-by-Step Guide to Smarter Cooling
Replace Your Lincoln 225 Welder Fan: A Simple, Step-by-Step Guide to Smarter Cooling
When the Lincoln 225 welder hums to life, its internal fan plays a critical role in maintaining optimal operating temperatures—yet many welders overlook or delay fan maintenance, risking overheating, diminished performance, and costly repairs. A neglected fan can result in lock-up components, shortened lifespan, and unexplained shutdowns during critical jobs. This guide delivers a clear, actionable blueprint to inspect, replace, and optimize the fan system—transforming a complex task into a straightforward maintenance win.
Whether you’re a weekend builder or a professional welder, understanding how to properly replace your Lincoln 225 welder fan is essential for reliability, safety, and longevity.
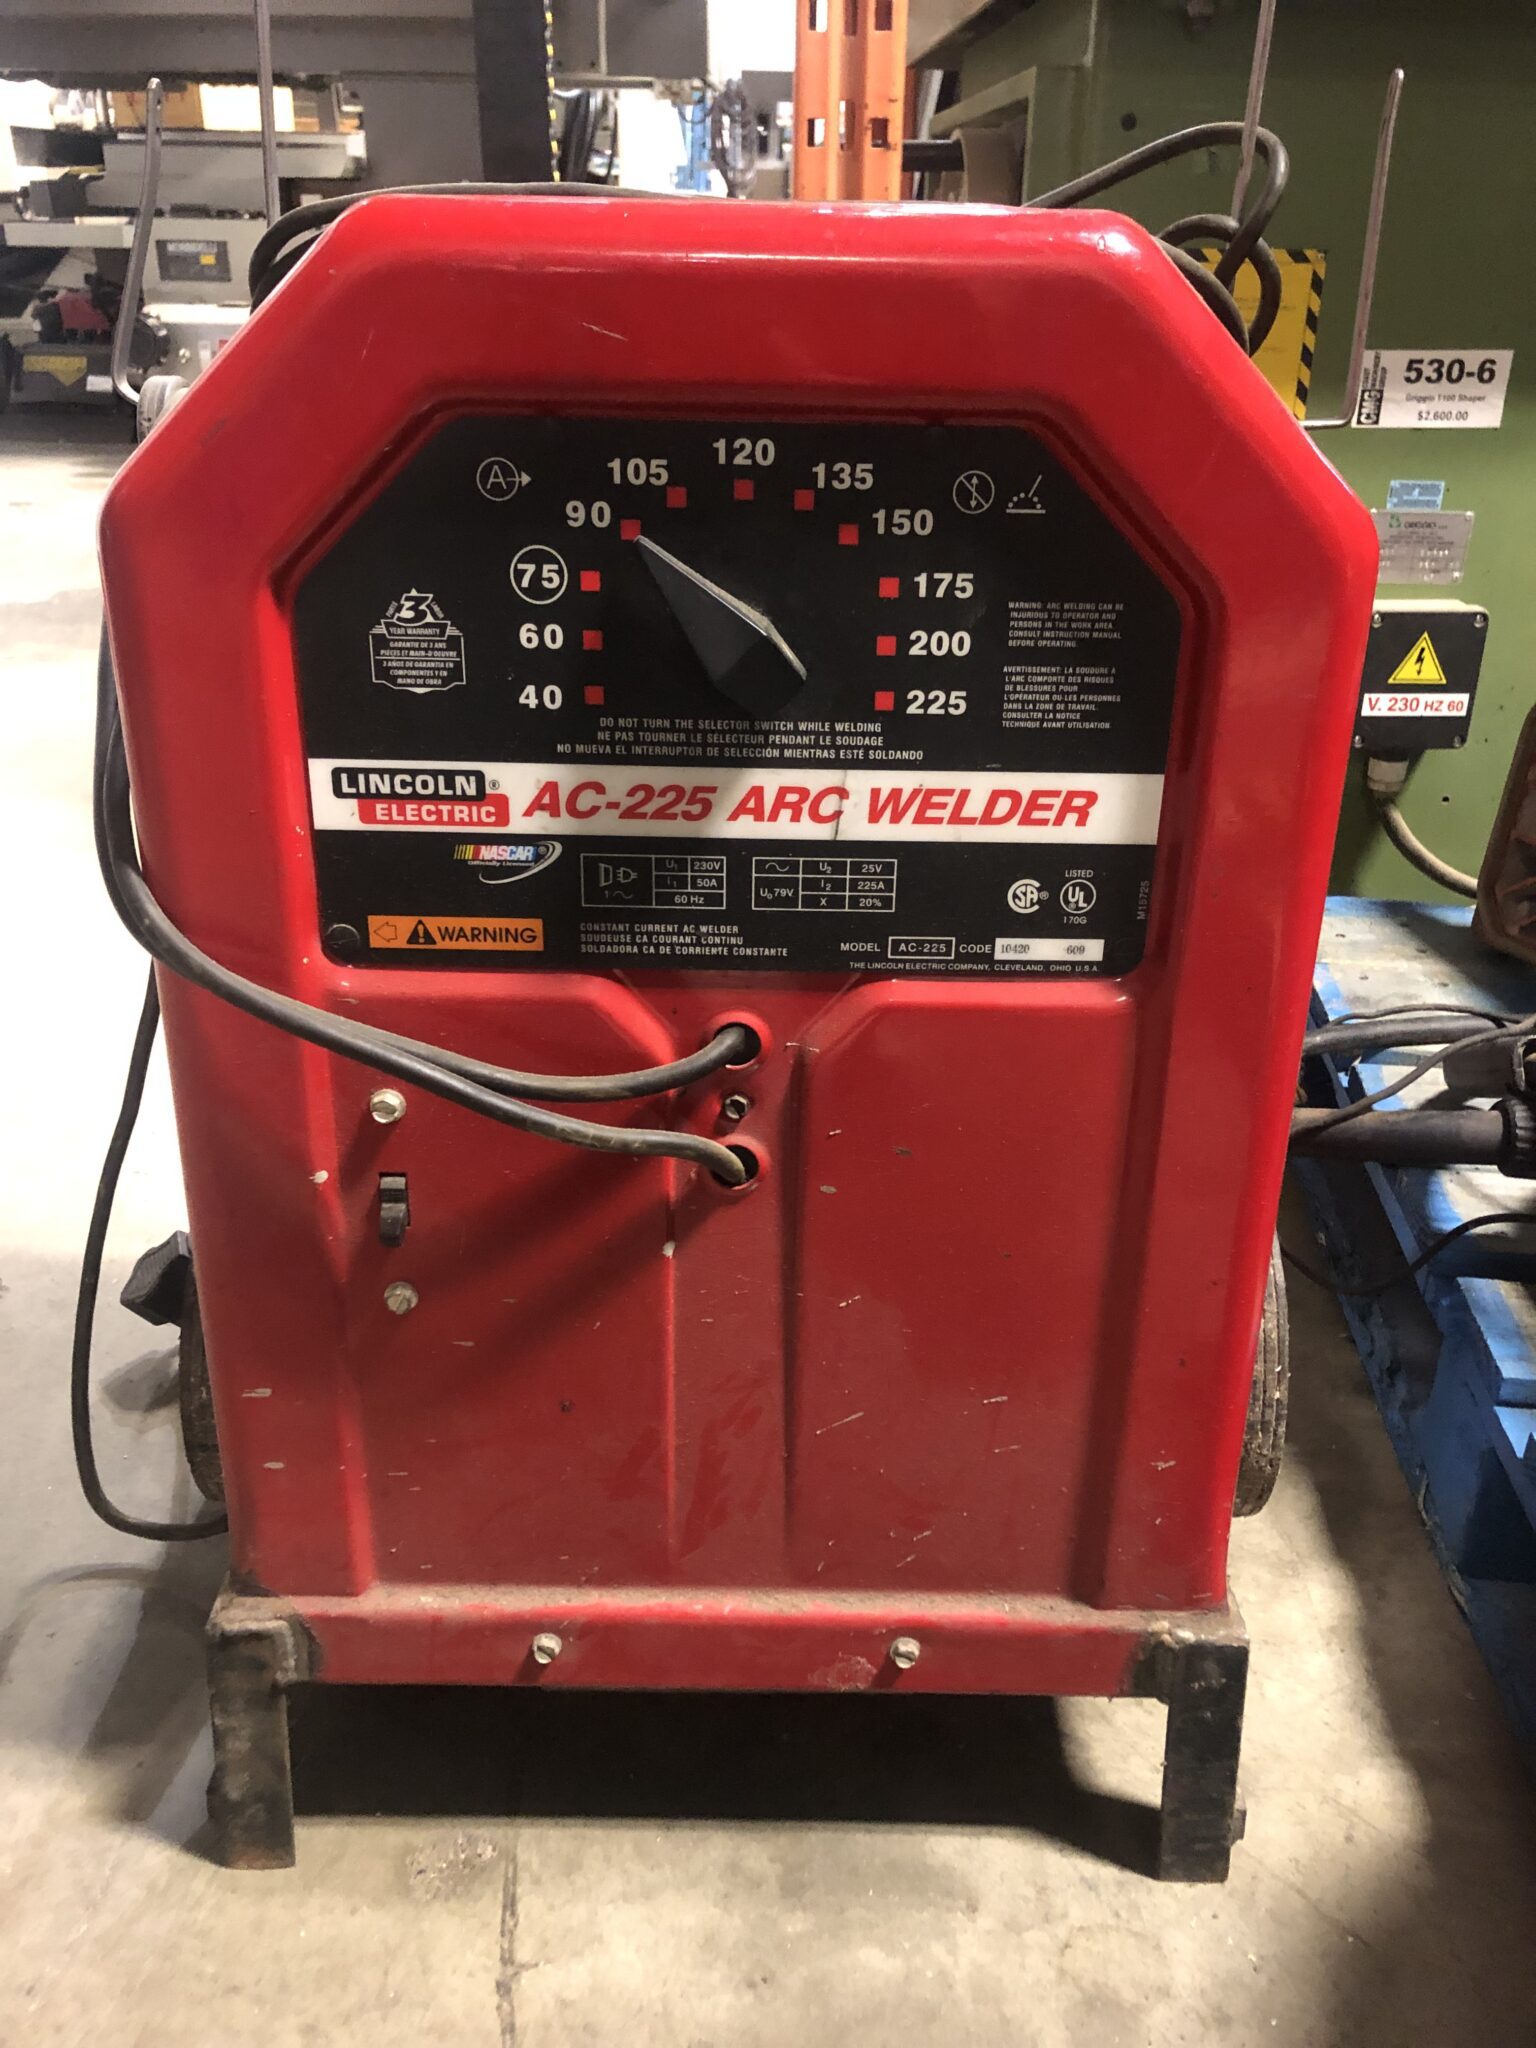
Understanding the Role and Design of the Lincoln 225 Welder Fan The Lincoln 225 welder’s fan is a small but powerful component tasked with circulating air through the machine’s motor and containment housing. Designed for continuous operation under high thermal load, the fan typically consists of a direct-drive motor mounted on a cubic aluminum housing with a self-cooling bearing and thermally resistant housing.
Failure begins subtly—dust accumulation increases friction, insulation degrades, and motor efficiency plummets. Studies show that unchecked fan degradation contributes to up to 37% of premature welder motor failures, according to a 2023 maintenance report by the American Welding Society. Unlike built-in cooling systems that rely on passive airflow, the fan actively counters heat buildup; neglecting this parts multiplies thermal stress on critical electrical components.
Signs Your Fan Needs Replacement Before Catastrophe A failing fan often delivers early warning signals. Welders should watch for six key indicators: - A noticeable drop in cooling efficiency, even at medium-\dot-performance settings - Increased motor noise, especially a vibration or grinding sound not present when new - Visible sensor accumulation—dust, metal shavings, or oil residue blocking blades or housing vents - Blown fuse or circuit interruptions linked to overheated motor windings - Slight reduction in welding speed attributed to automatic overheating cutoffs Ignoring these signs risks cascading damage. If the fan stalls, the motor temperature escalates beyond safe thresholds—often reaching 120°C or more—triggering thermal cutoff protections that halt welding abruptly or permanently damaging insulation and bearings.
Preparing for Fan Replacement: Safety First and Best Practices Before touching any components inside the welder, strict safety protocols must be followed. Current electrical systems remain hazardous even when powered off—always disconnect the welder from AC supply and discharge the capacitor bank if equipped. Wear insulated gloves, safety glasses, and a dust mask due to fine metal particulates.
Clean work surfaces with compressed air to minimize airborne debris during disassembly. Organize tools and replacement parts in advance: a Phillips-head screwdriver, cases/containers, a digital multimeter for motor testing, and the exact OEM-style fan assembly. Quality replacement parts are non-negotiable—using a generic or incompatible fan risks poor fitment, corrosion, or substandard thermal performance, undermining the entire repair.
Step-by-Step: Removing the Old Fan and Installing the New One The process unfolds in four essential phases: 1. Power down and discharge the welder—voltage verification using a Doladapter confirms de-energization. 2.
Remove access panels using appropriate tools; document fastener locations with photos or labels to ensure flawless reassembly. 3. Disconnect wiring terminals carefully—use a spudger to loosen terminals, avoiding nicked wires.
Document wire configurations with diagrams to prevent misalignment. 4. Extract the worn fan: Unbolt mounting brackets, release compression latches or screws, then slide the unit out.
Clean the mounting housing bedding surface—dust or oil residues degrade new seal performance.
- Install the new fan with bearing lubrication where specified—critical for smooth operation and longevity.
- Verify proper blade alignment and motor clearance—misalignment causes vibration and premature wear.
- Reattach wiring connections securely—tighten terminals to OEM torque specs using a calibrated wrench set.
- Secure panels and test the system before full deployment: power on briefly to confirm silent fan rotation and stable motor response.
Advanced Tips for Fan Longevity and Performance Optimization Beyond replacement, proactive care sustains fan effectiveness. Integrate these habits: - Install an optional aftermarket high-flow vent kit behind the housing to boost airflow by 22–30%, reducing thermal load.
- Periodically inspect blade integrity—cracks or bent vanes negate performance benefits. - Use precision torque drivers during reeches to prevent stripped threads or over-tightened bolts. - Schedule seasonal deep cleaning cycles; commercial-grade ultrasonic cleaning removes embedded metal fines without damaging components.
- Monitor operating temperatures with an infrared thermometer—ideal motor temps stay below 65°C during use.
Tools and Parts Essentials for a Flawless Replacement Success hinges on having the right equipment: a phillips screwdriver, insulated gloves, capacitor discharge tool (if applicable), and a multimeter for voltage and continuity checks. Fan compatibility is paramount—correct part numbers from Lincoln’s OEM catalog or verified suppliers like Schweisszubehör or WelderNet ensure perfect fit and thermal specs.
Generic or third-party alternatives often fail under sustained load, conflicting with internal tolerances. Investing in the authentic replacement part halves failure risk and prolongs welder lifespan by years.
The lifecycle of any welding machine hinges on small, consistent efforts—fan replacement among the most impactful.
By replacing the Lincoln 225 welder fan decisively and correctly, welders avoid unnecessary downtime, reduce repair costs, and preserve machine integrity. This guide transforms a daunting task into a repeatable, masterable process, proving that simplicity in maintenance delivers profound reliability. Embrace this straightforward procedure not just as a repair, but as a cornerstone of smarter, more resilient welding practice.


Related Post

Miranda Cosgrove’s Marital Journey: Untangling the Nuances Behind Her Current Relationship Status

Unraveling The Enigma: Tanya O’Rourke’s First Marriage – A Quiet Journey Behind the Headlines

Wood Sheep Year 1955: The Year of Resilient Harmony and Gentle Leadership
Xjail Okaloosa Fl County Jail Inmate Search: Access Amp Amp Mugshots with One Click